We all know that photography is an essential part of food blogging and social media, but it can be overwhelming when you’re just starting out. Expensive equipment! Complicated editing programs! Lighting! That’s why we’ve compiled seven affordable and easy food photography tips for beginners that will help get you started on your food photography journey.
Because you know the old adage, “We eat with our eyes”? Well… it’s true! I know that when I’m looking for a recipe to make, I’ll only consider it if the photos are mouthwatering.
The strategies and skills we’re going to cover are ones that you can easily implement as a beginner food photographer:
- Use natural light
- Use the camera you have
- Know your angles
- The Rule of Thirds
- Use the Color Wheel
- Use props in your food photography
- Find your style
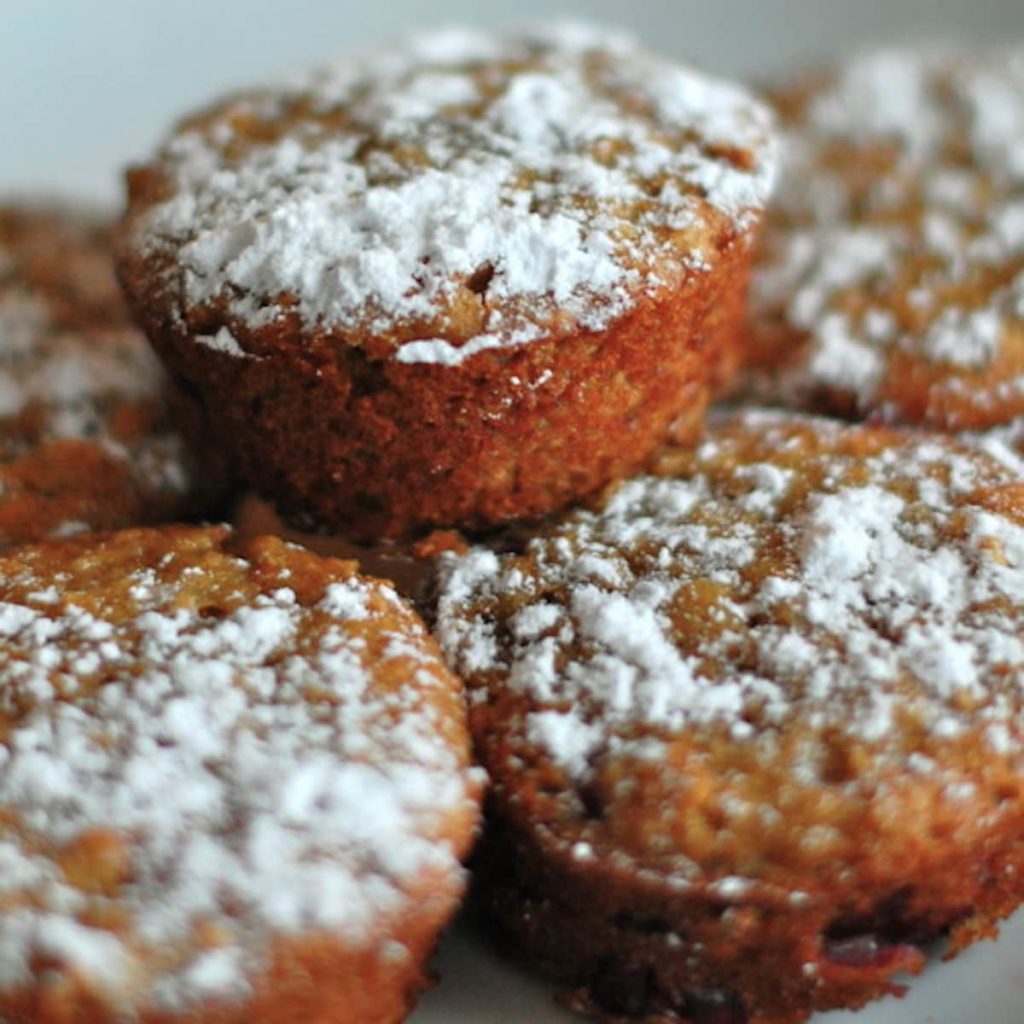
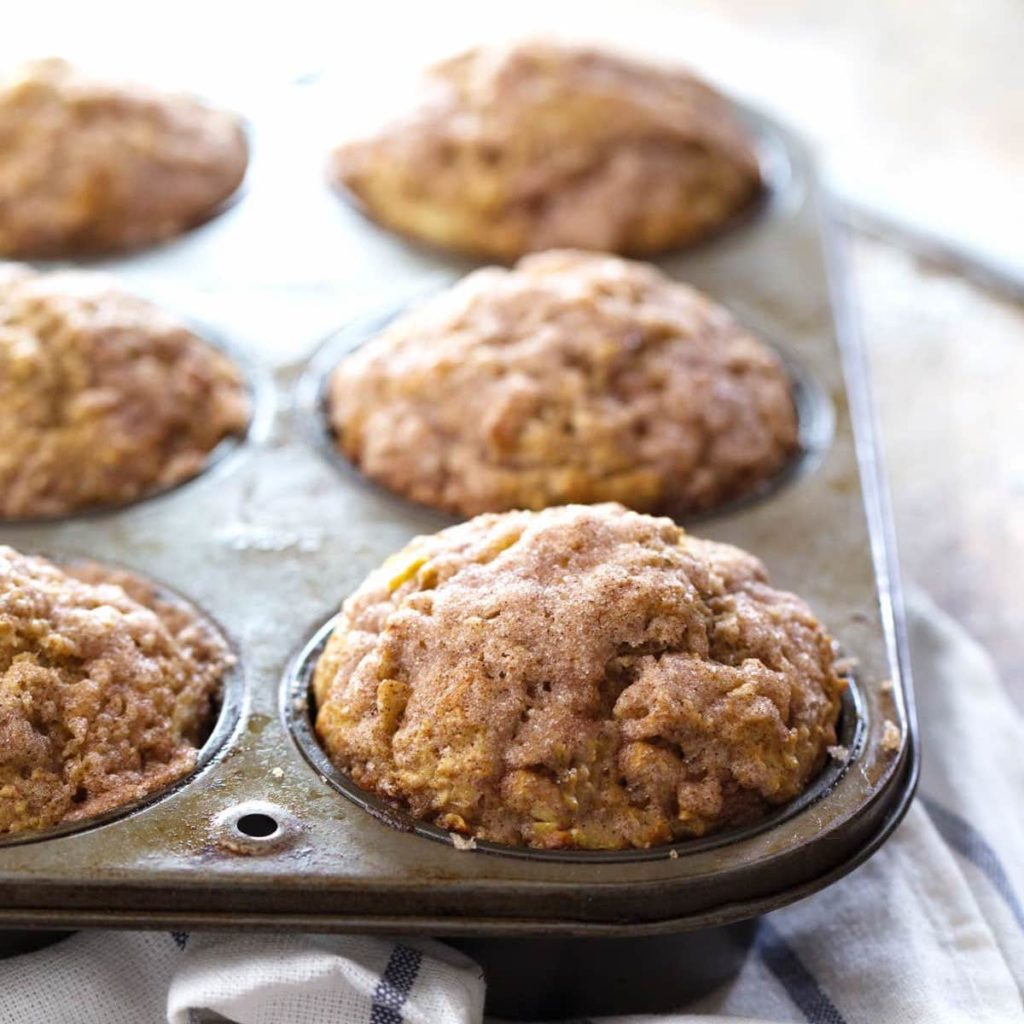
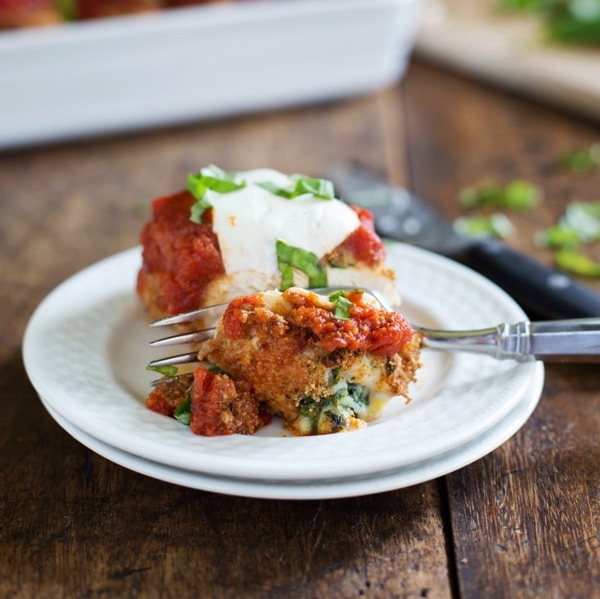
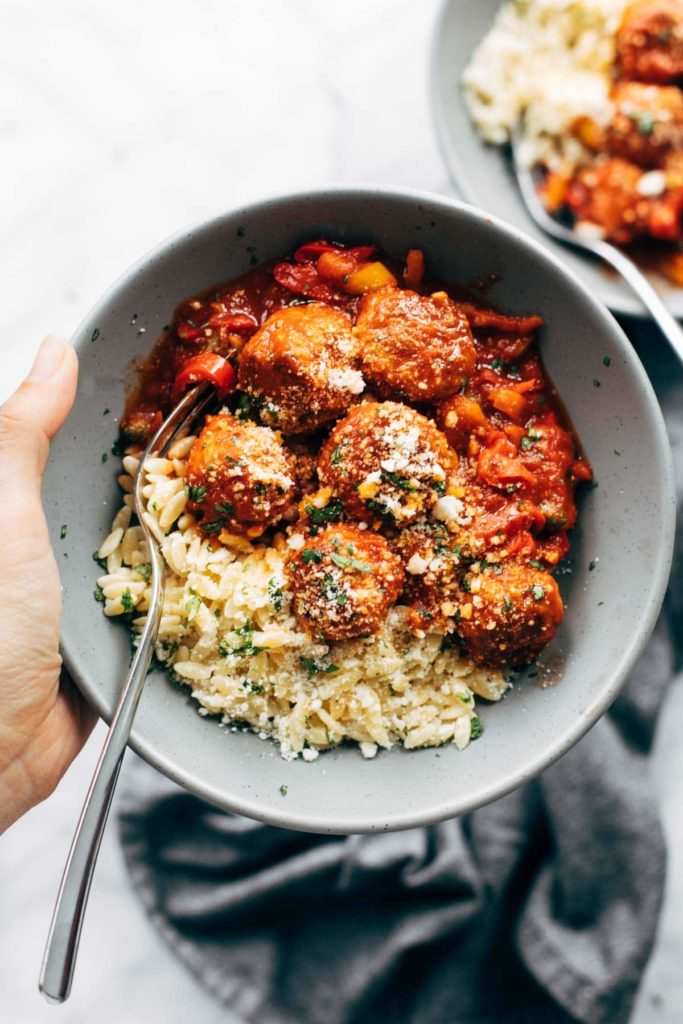
With these food photography tips for beginners, you can take your photography skills from the lackluster photo on the left to the stunner on the right in no time!
Food Photography Tips for Beginners
1. Use natural light
The easiest and cheapest tip of them all…using the sun!
We suggest using natural light versus the harsh overhead lights in your house or the flash on your camera. Why? Let’s compare:
The picture on the left was taken with an overhead light, while the one on the right was lit only with the light from the sun.
Notice how the photo on the left has an orangey hue? You can thank overhead lighting for that! In addition to an unnatural color, overhead lighting and camera flash can give your photos unwanted and harsh shadows. Not super yummy.
The colors in the photo on the right are much more natural, much more appetizing, and more true to the actual colors of the food. I’d dig into that any day.
Adjusting your camera’s white balance can help (to an extent), but nothing beats the colors, look, and feel that a natural lighting situation can bring to your photos.
An important thing to note about natural lighting is that you should opt for shooting in indirect sunlight, rather than direct sunlight. With indirect sunlight, light will drape over your food, rather than blow out your colors and give you those intense shadows. Indirect sunlight gives a much more natural look to your colors, which is much more appetizing to your readers.
That is, of course, a styling preference, so if you like those harsh sunlight shadows, go for it! Bon Appetit has been really successful with this with a few of their food photos. Just be sure to adjust your colors with an editing program to make sure they really pop!
Want to learn more about natural light?2. Use the camera you have
When you’re first starting on your food photography journey, there’s no reason to drop a ton of moolah to make it happen.
Have a smartphone or a point-and-shoot camera? Great! Get started with that, and upgrade if, and when, the right time comes. You can practice honing in on your style and learning about lighting while taking great photos with the camera you have.
Mobile phone cameras are pretty incredible these days, so we suggest using the tools you have when you start photographing food.
3. Know your angles
When you take a food photo, where do you stand in respect to where your food is? Knowing your angles can help you figure that out!
With food photography, there are three main angles:
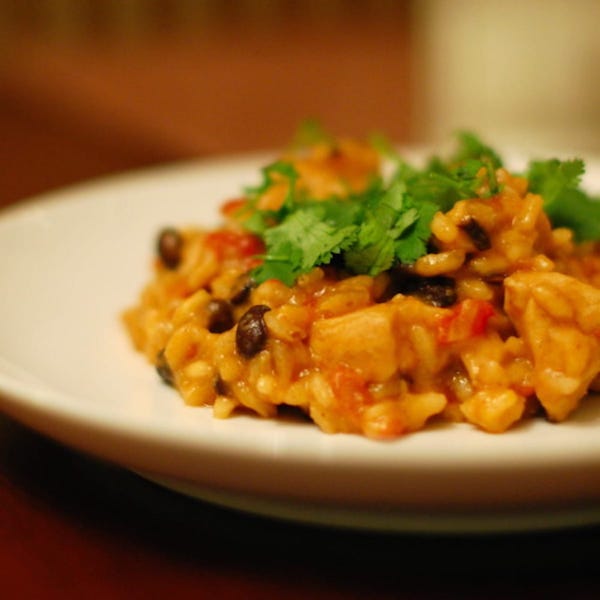
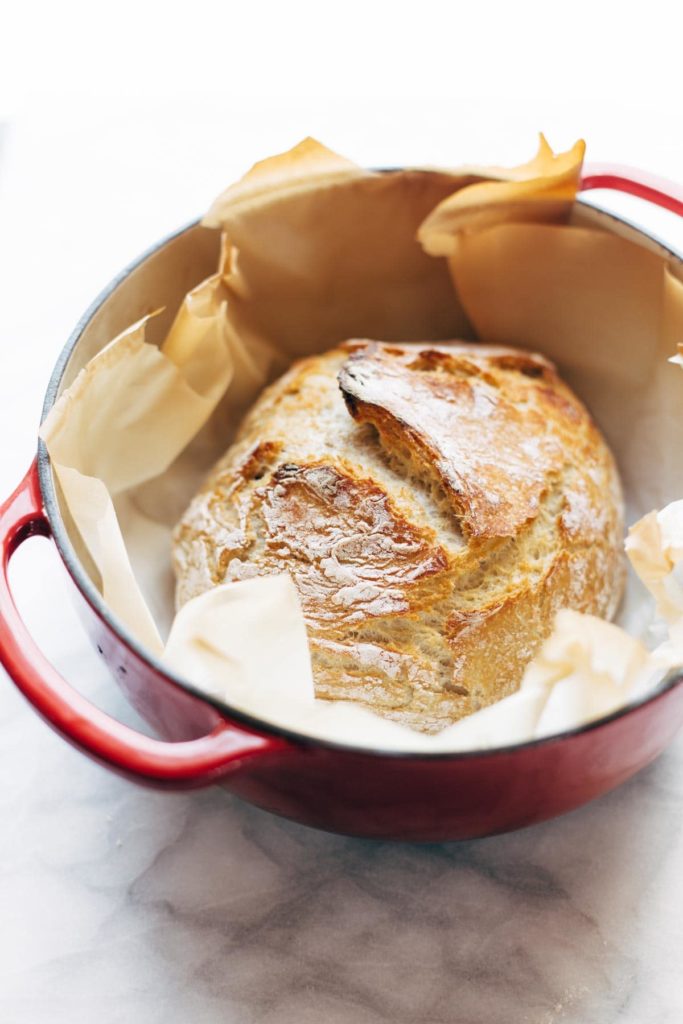
Table Height Angle
As the name suggests, you can achieve this angle by positioning your camera flat against your table. This angle works best for thick foods, big piles of foods, or stacked foods. Here are some examples:
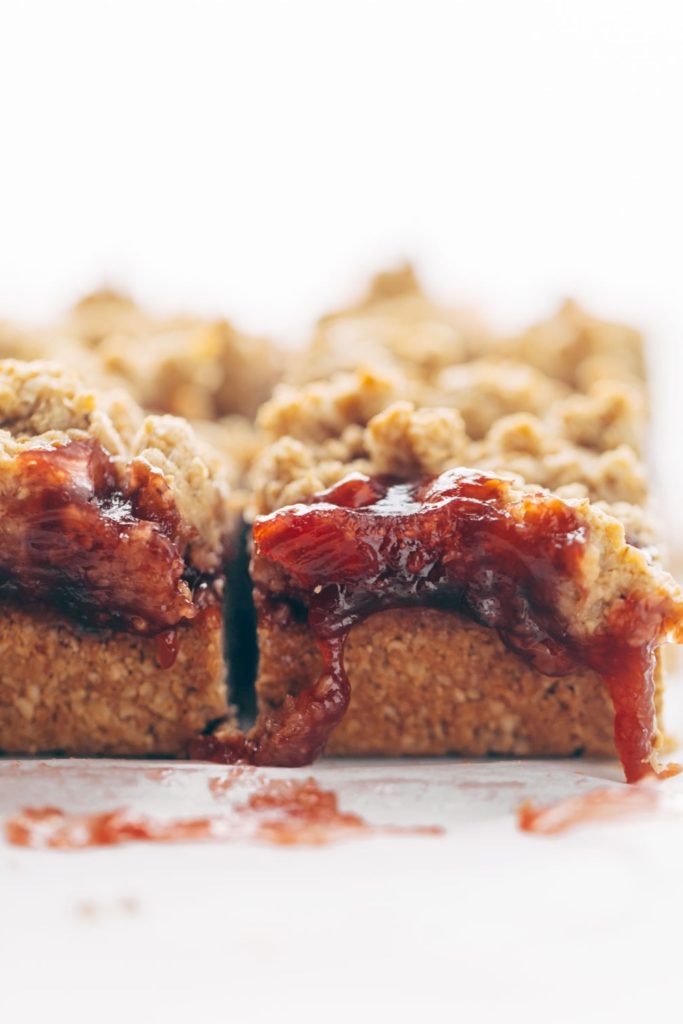
This is a really great angle to show texture in your food; just be sure to be aware of whatever is in the background of your photo. You may need to use a second photography board or a bare wall to get the look you’re after.
Three-Fourths Angle
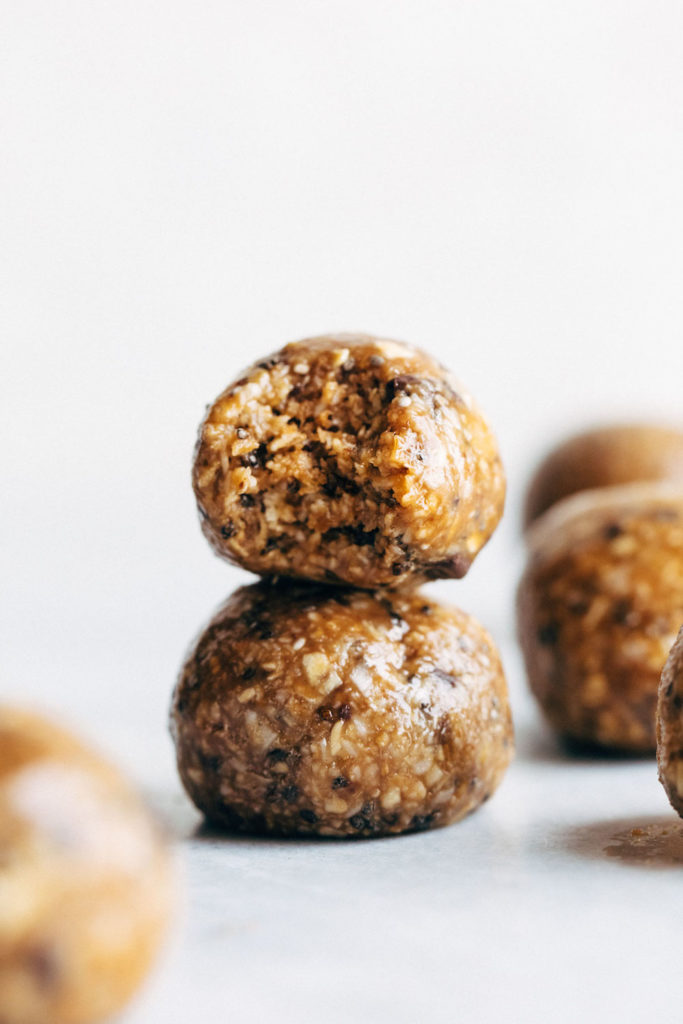
The midpoint between a Table Height angle and an Overhead angle (more on the latter in a second). I really like a Three-Fourths angle because you can see a bit more of your food, especially when it’s in a bowl. Imagine how you’d stand if you were peeking into a bowl full of cookie dough — that’s the look that the Three-Fourths angle will give you.
It’s also really helpful for showing depth if the food you’re shooting is long and flat. A Table Height angle really wouldn’t work with a platter of food because you miss so much of the full picture; the Three-Fourths angle will help you fit the entirety of the platter in the frame, while still showing off some height.
Here are some examples:
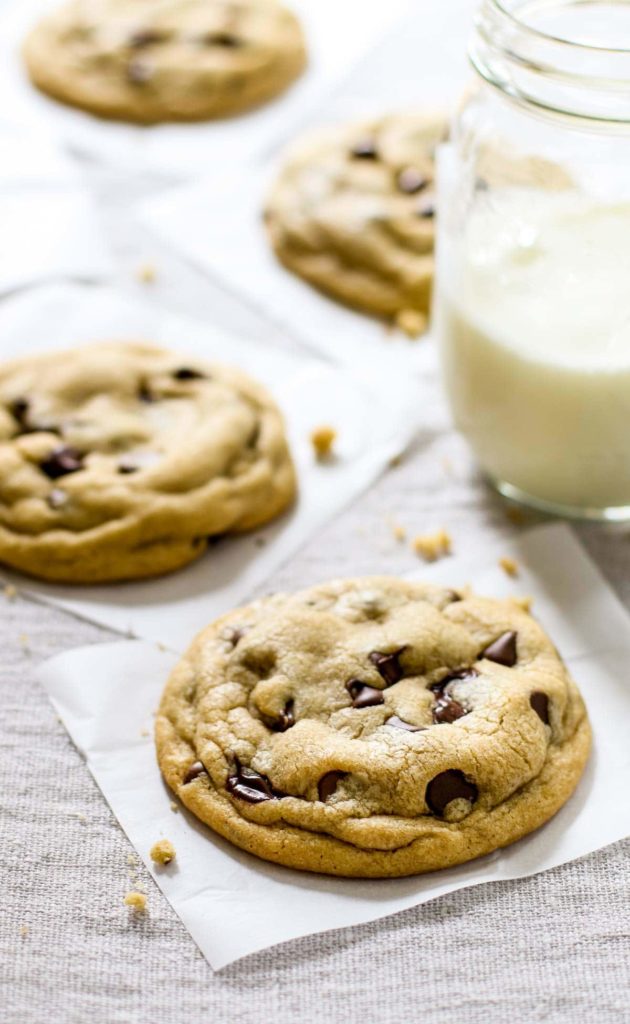
Imagine your table or photography background is 0° and directly over your food is 90°. To achieve this Three-Fourth’s look, position yourself in the middle of the two, at 45°.
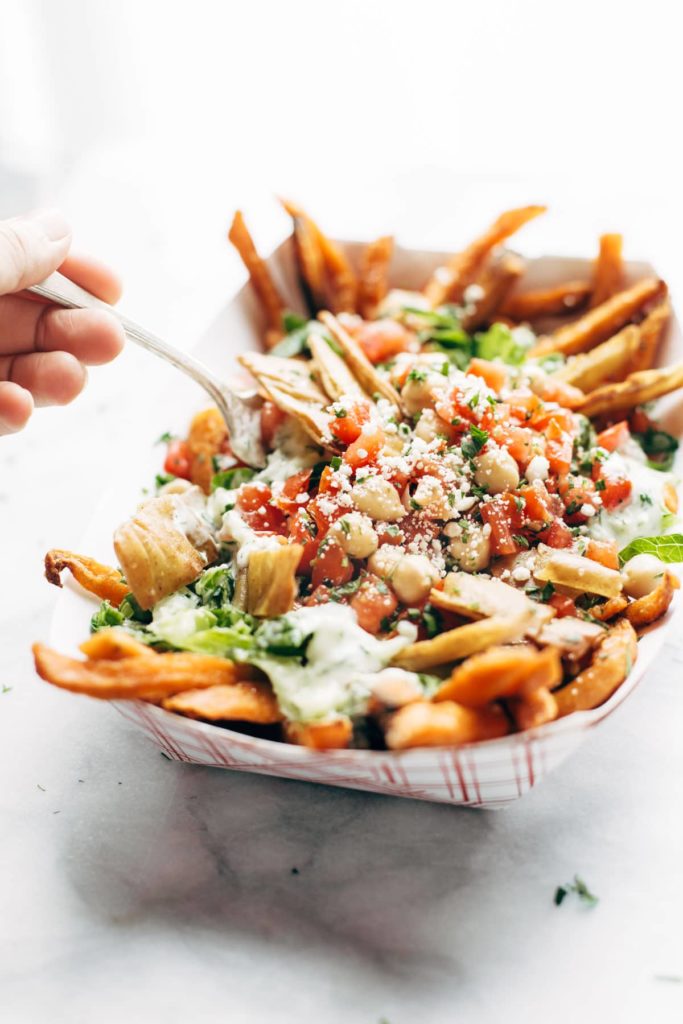
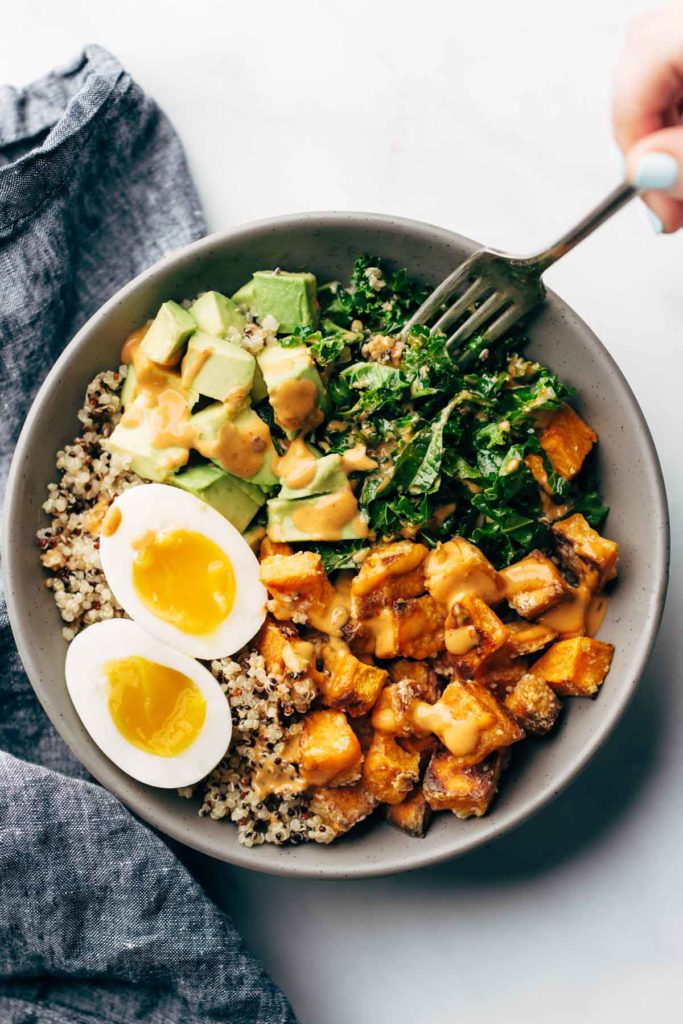
Overhead Angle
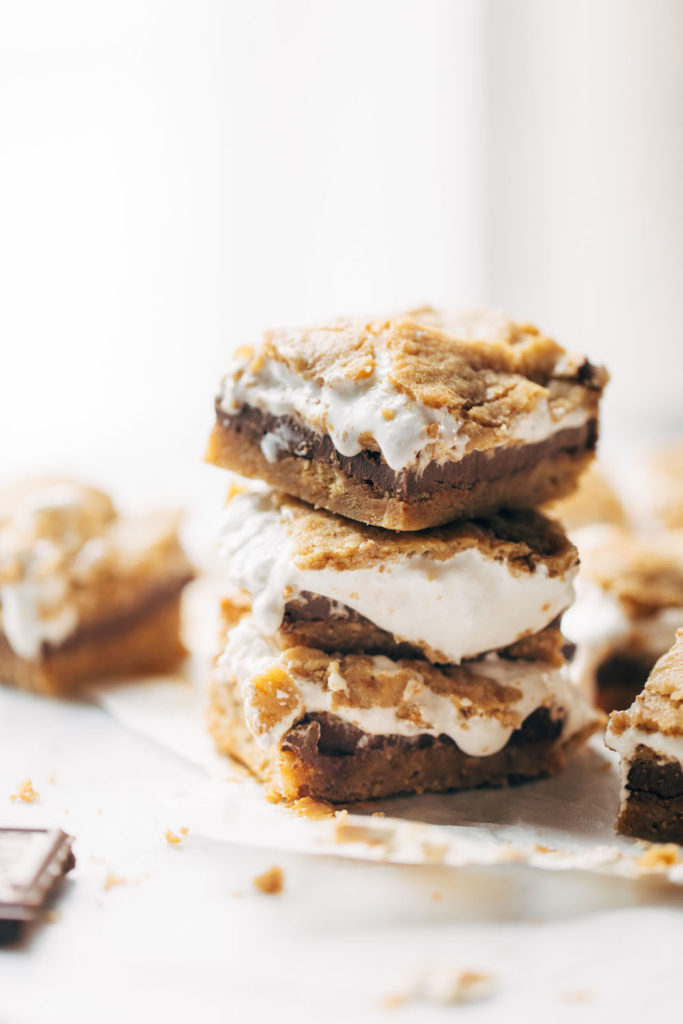
The famous flat-lay! This angle, taken from directly above the food, is great for foods or spreads that have a ton of texture or different elements like this:

These kinds of photos may be difficult to achieve depending on how tall the surface you’re shooting on is, so if you’re having trouble, you can use a step-stool or take your photography background to the ground. Just be sure you’re not blocking your light source with this angle!
4. The Rule of Thirds
The Rule of Thirds is a classic way to help you compose your photo in an aesthetically pleasing, balanced way. This guideline was first mentioned all the way back in 1797, and it helps you position the content in your image.
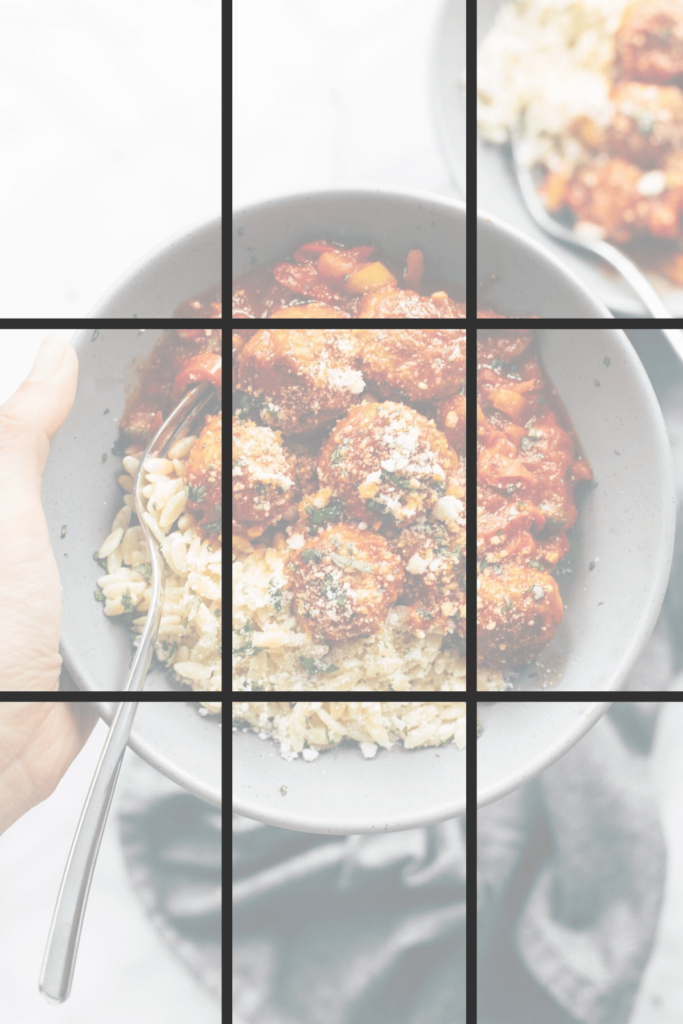
Take this photo for instance. Let’s divide it up into thirds.
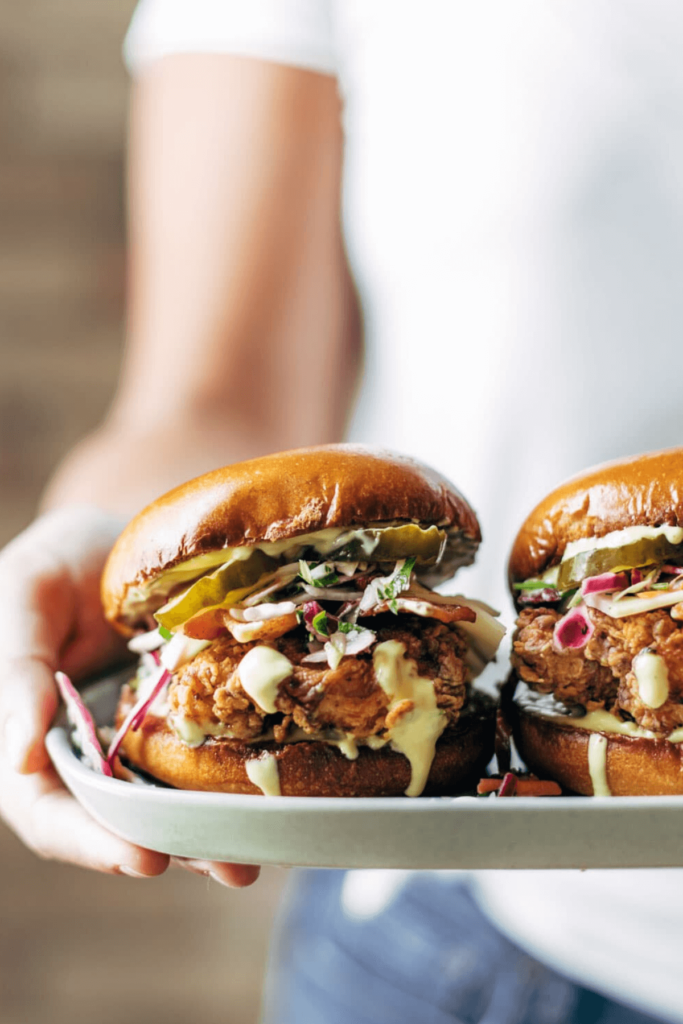
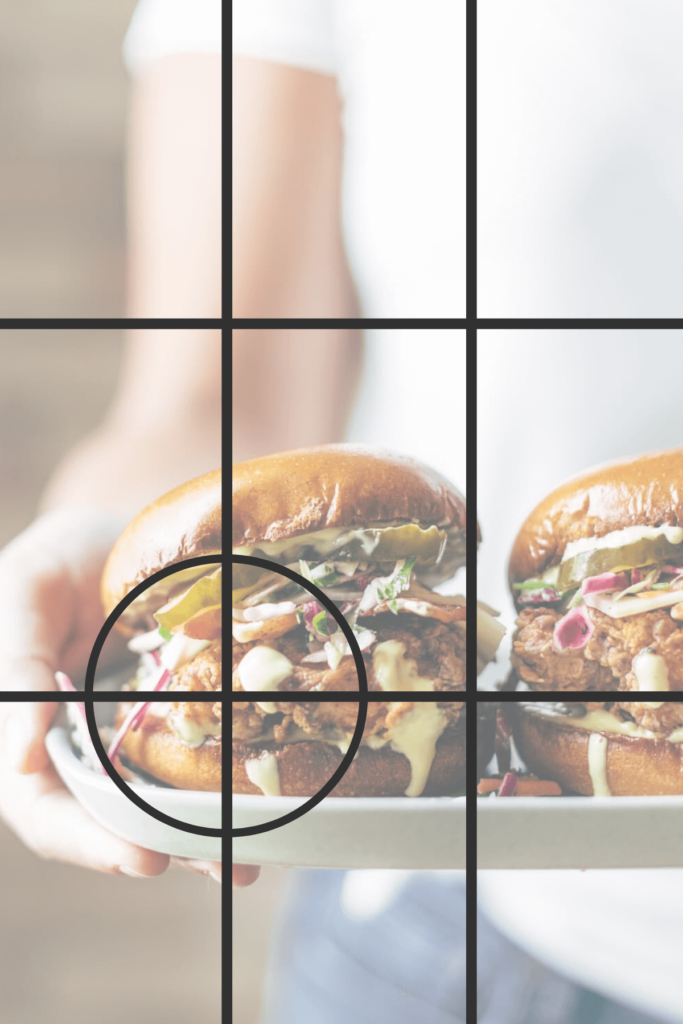
To follow the Rule of Thirds, any important parts of your image — in this case, it’s that fully-pictured chicken sandwich–should be positioned at the intersections of your lines.
You can also use the lines in your Rule of Thirds grid to figure out the positioning of important elements in your photo. Let’s take that same chicken sandwich photo again:
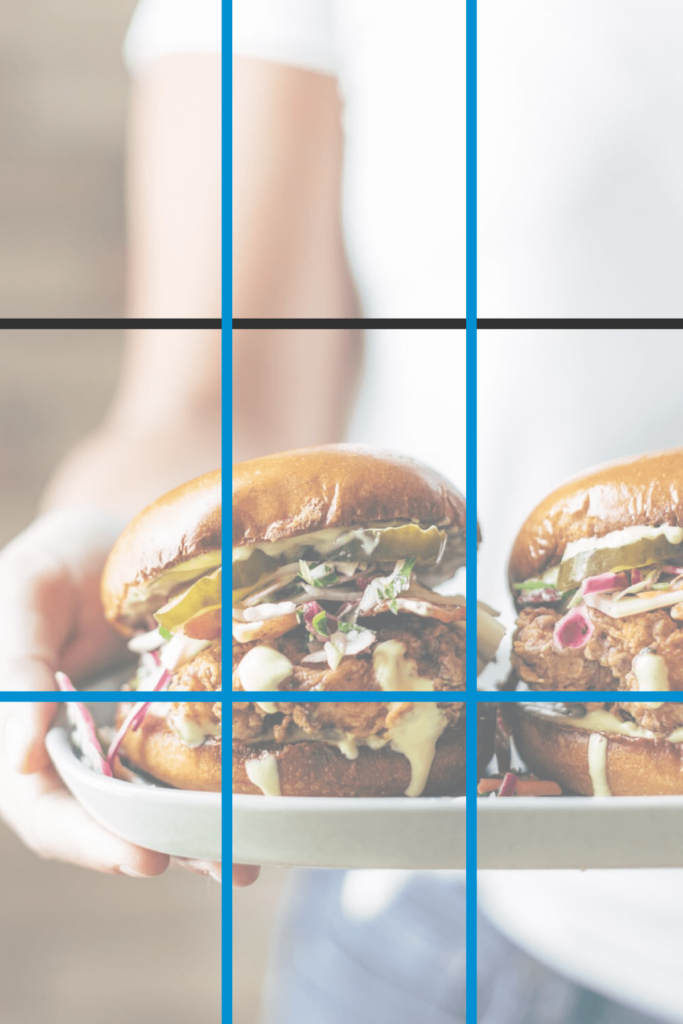
The arm, the torso, and the serving platter are all positioned along those “Rule of Thirds” dividers. Nifty!
Of course, rules are meant to be broken, so you can still achieve an incredibly aesthetically-pleasing photo without utilizing the Rule of Thirds:
We just suggest using it as a starting point as you begin to hone in on your style.
Want more food photography tips?5. Use the Color Wheel
We’re going back to middle school art class and talking about Color Theory and the Color Wheel!
(Fun fact: the Color Wheel was invented by Isaac Newton! Crazy, right?!)
Do you remember the Color Wheel? It looks like this:
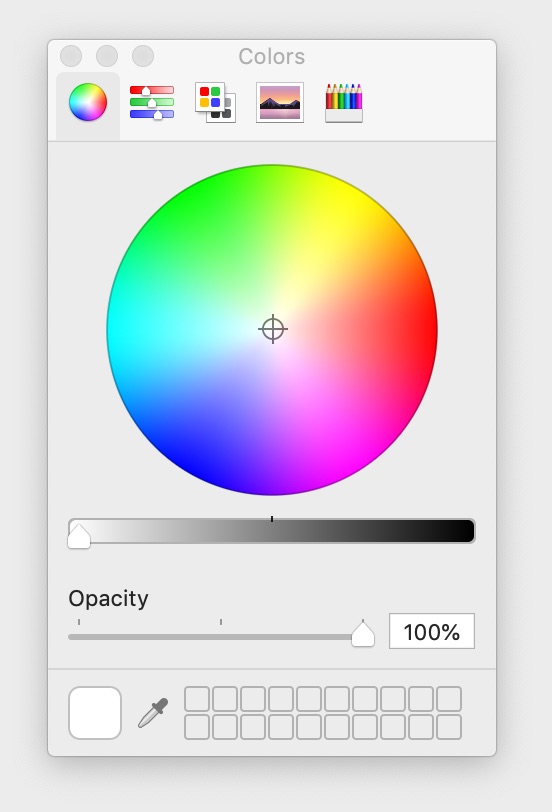
Complementary colors are across from each other in the Color Wheel, meaning that if you have an orange food (think enchiladas with orange sauce), it may make sense aesthetically to include some kind of blue linen or bowl in the photo. Orange and blue are across from each other in the Color Wheel, and according to the Color Theory, that means that those colors will help each other “pop” in your photo. Pretty cool, huh?
There are other color combinations in addition to “complementary colors” that we’re not going to get into today, but if you’re having trouble figuring out why your photos look dull or unexciting, try checking out the Color Wheel and playing with your colors a bit. I love this page from Canva where you can experiment with different colors and color combinations. Hopefully it can help you think of creative ways to style a photo.
Want to learn more about editing your photographs?6. Use props in your food photography
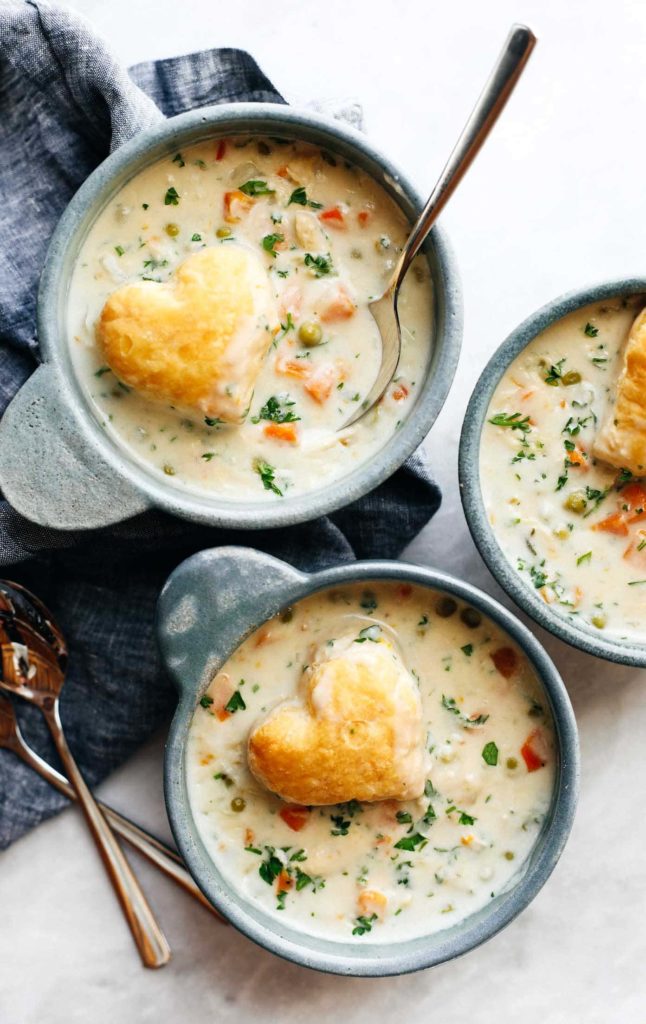
Food photography props and backdrops can be used to create the mood of your photos. These props are also useful for providing visual interest and structure to your photographs. Take a photo like this. What does this photo make you feel?
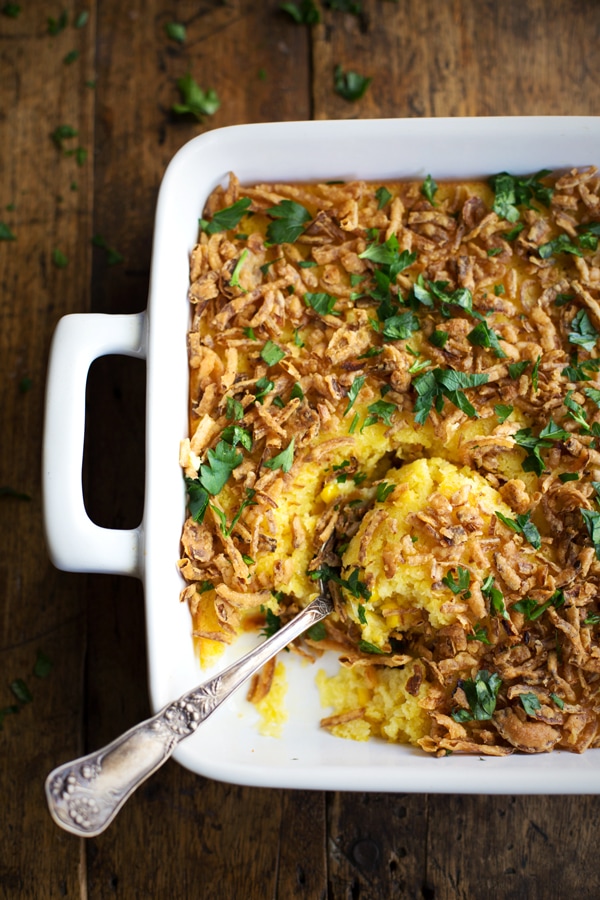
Cozy? Ready to spend time with your family around the dinner table? Wanting Thanksgiving to happen immediately so you can dive face-first into this bowl of yum?
Exactly. And while the food clearly adds to that comforting aesthetic, the props (like the distressed wooden background and the antique spoon) really help convey your message (“You should make this for Thanksgiving!”).
Want to learn more about props for food photography?7. Find your style
Just because one food photographer is doing something one way, that doesn’t mean that you have to do it that way too. And that’s okay! Your photography style makes your blog and your photos unique; don’t be afraid to break the rules.
A fun exercise is to peruse Pinterest or your favorite blogs and save the pictures that make you go, “Wow. That’s a great picture. I’m saving that recipe for later!” It can help you hone in on the style that really speaks to you. Do you like dark and moody photos or light and airy photos? Lots of props or more minimal?
Food photography can seem intimidating, but these strategies for beginners (just like you!) should help give you some direction as you jump into this wonderful, delicious world.
If you’re a seasoned photographer, we’re curious: What are some other photography rules that you follow? Any tips for newbies? Leave ’em in the comments below!
😊 P.S. We have a ton of photography and photo editing tutorials on Food Blogger Pro. You can get access to them (along with other courses on growing your blog, monetizing, and more) by signing up for a membership today! 🎉
Light and props are really important! Great content!
I think the use of a diffuser to soften harsh light and eliminate shadows is important too. Great article.
Thank you! We completely agree about diffusers. They’re essential for getting that soft light when using artificial lighting.
I have had my iPhone for almost three years now and it has not failed me once. This year I upgraded to the iPhone 8 and I love the quality of pictures and videos that take up so little space on my phone.
Exactly! Work with what you have, and iPhones are a great option for food photography!
Awesomeness 😊
Glad you enjoyed it!
I LOVE that you said ‘rules are to be broken’, I enjoy pushing boundaries, try the quirkiest of angles! Works well with food and properties..especially when using wide aperture, Come say hi over at josmithphotographyfyldecoast on Instagram and facebook 😘
So glad that resonated with you, Jo! Your photography is really beautiful.
As an excellent cook but only a neophyte food photographer, I really appreciate these simple tips and structural recommendations that will be easy to remember as I attempt to capture my creations in the best light possible (pun intended). Thank you!!!
So happy you found this post useful 🙂 Can’t wait to see your photography progress!
I really loved these tips! As a beginner in food photography, the advice on lighting was especially helpful. I can’t wait to try out the suggestions and elevate my food pics. Thanks for sharing!
Happy to help! Best of luck on your food photography journey 🙂
After mastering the rule of thirds: spirals. I love working spirals and flow into my food photography. Great article!
Thanks Erika! Spirals sound so fun and unique – love that idea!
Great tips! I especially loved the advice about natural lighting. It’s amazing how much of a difference it makes in showcasing the food. Can’t wait to try these techniques in my own kitchen!
Let us know how it goes!