I’m not a YouTube or video expert, but I’m a big believer in expert enough and want to live out that belief on this blog. Hence the reason for blog posts like this one (or five things I learned in my first month using YouTube or the gear we use for recipe videos) where we share “real-time” tips and tricks.
Today I’m sharing three simple tips I use to improve our YouTube videos using Final Cut Pro X. The easiest way to learn the tips is by watching the video below, but I’ll also provide some basic screenshots after the video as well. You can choose your own adventure. 🙂
1. Syncing an audio track with a video track
Good audio is massively important. The problem is that DSLR cameras have terrible audio quality. That’s why we record audio separately.
FCPX makes it really easy to sync the video and audio files.
1. Select the audio and video files
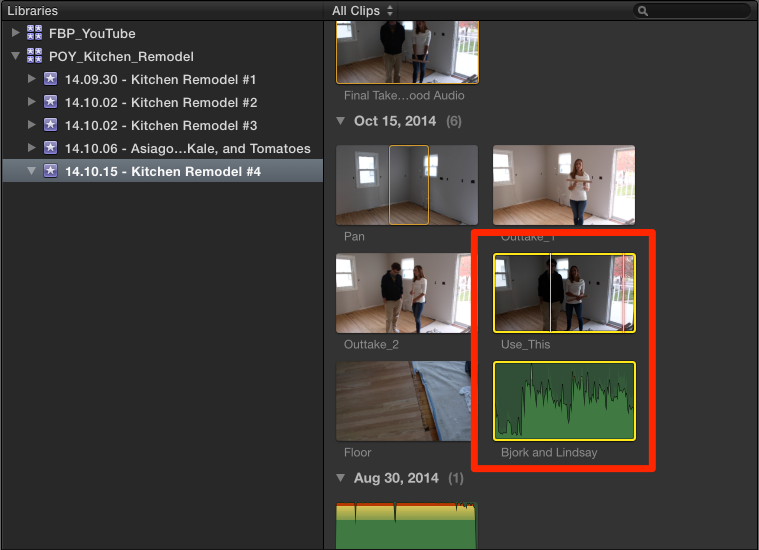
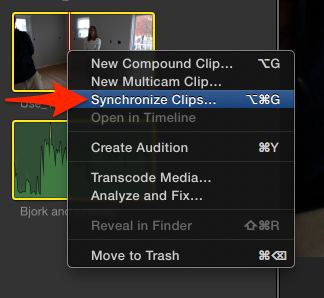
2. Right click and select Synchronize Clips…
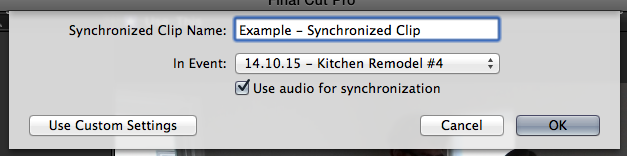
3. Name the clip and select OK.
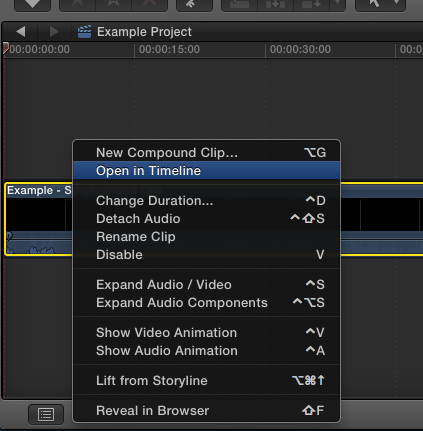
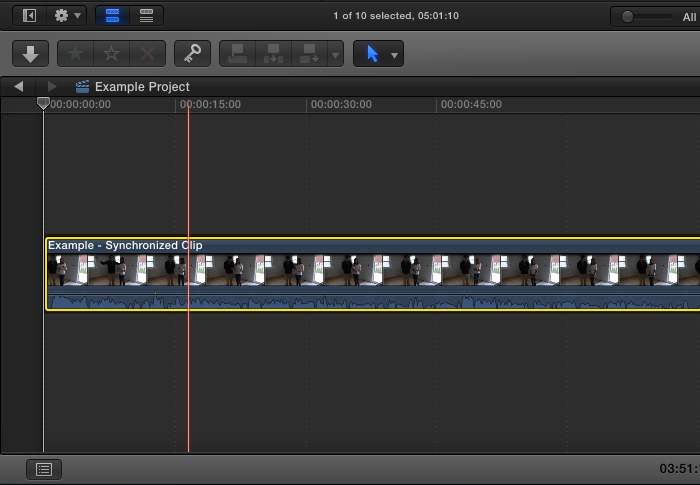
4. Drag the synchronized clip to the timeline.

5. Right click on the clip and select Open in Timeline.
6. Mute the audio for the camera by dropping the audio level down to zero.
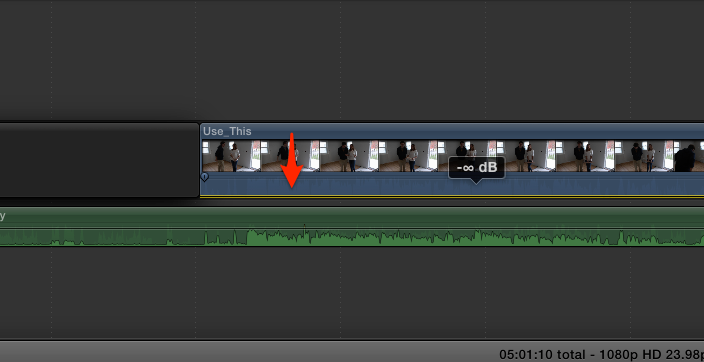
7. Ta-da! Great sounding audio for your YouTube video.
2. (Quick and Dirty) Color Balancing
This one is super quick and super easy.
1. Select the clip in the timeline.
2. Select Modify then Balance Color (or press option > command > B on your keyboard).
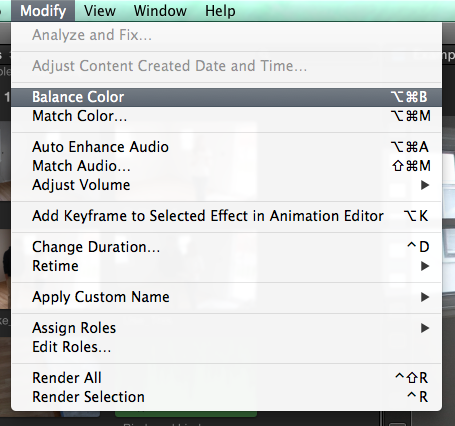
3. Ta-da! FCPX will balance the colors of your clip. You might need to do some additional manual editing on your own (see video above for an example).
3. Creating YouTube previews at the end of a video
This one is a bit harder to explain with just text and screenshots, but here’s the gist:
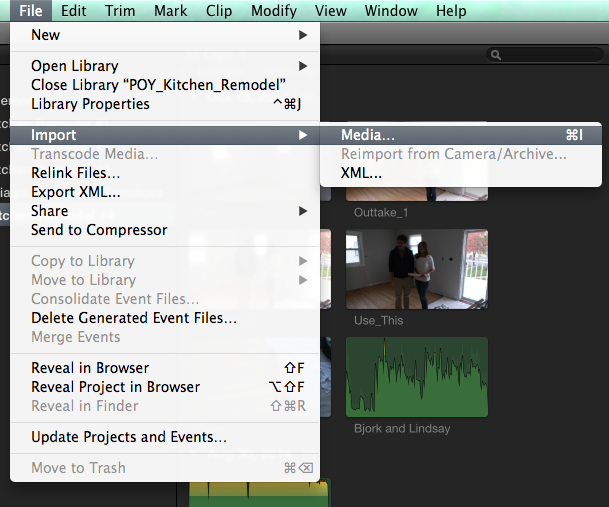
1. If they’re not already in FCPX, import the video(s) that you want to use as previews.
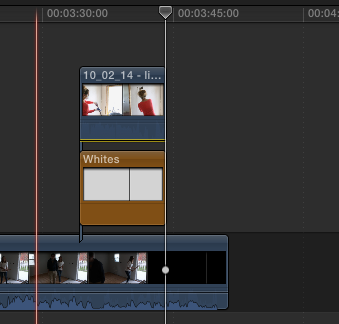
2. Add a solid color background.
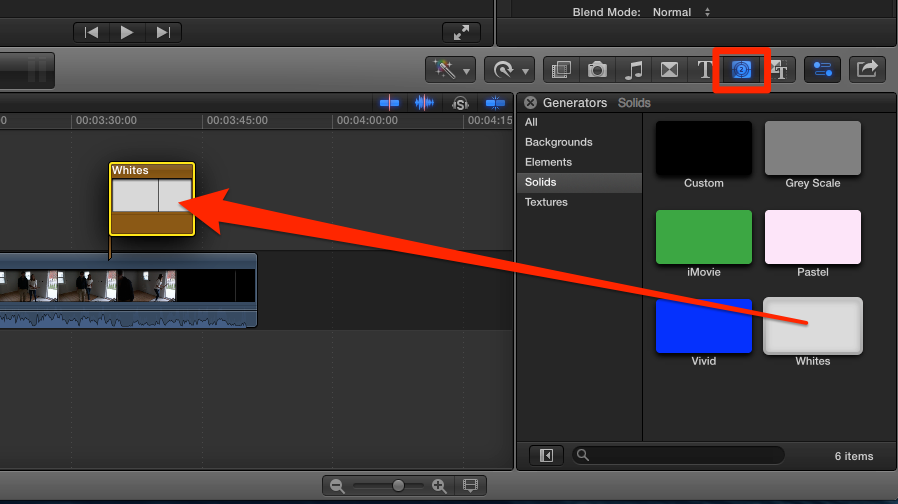
3. Place your preview video above the solid background, trim to fit, and mute the audio.
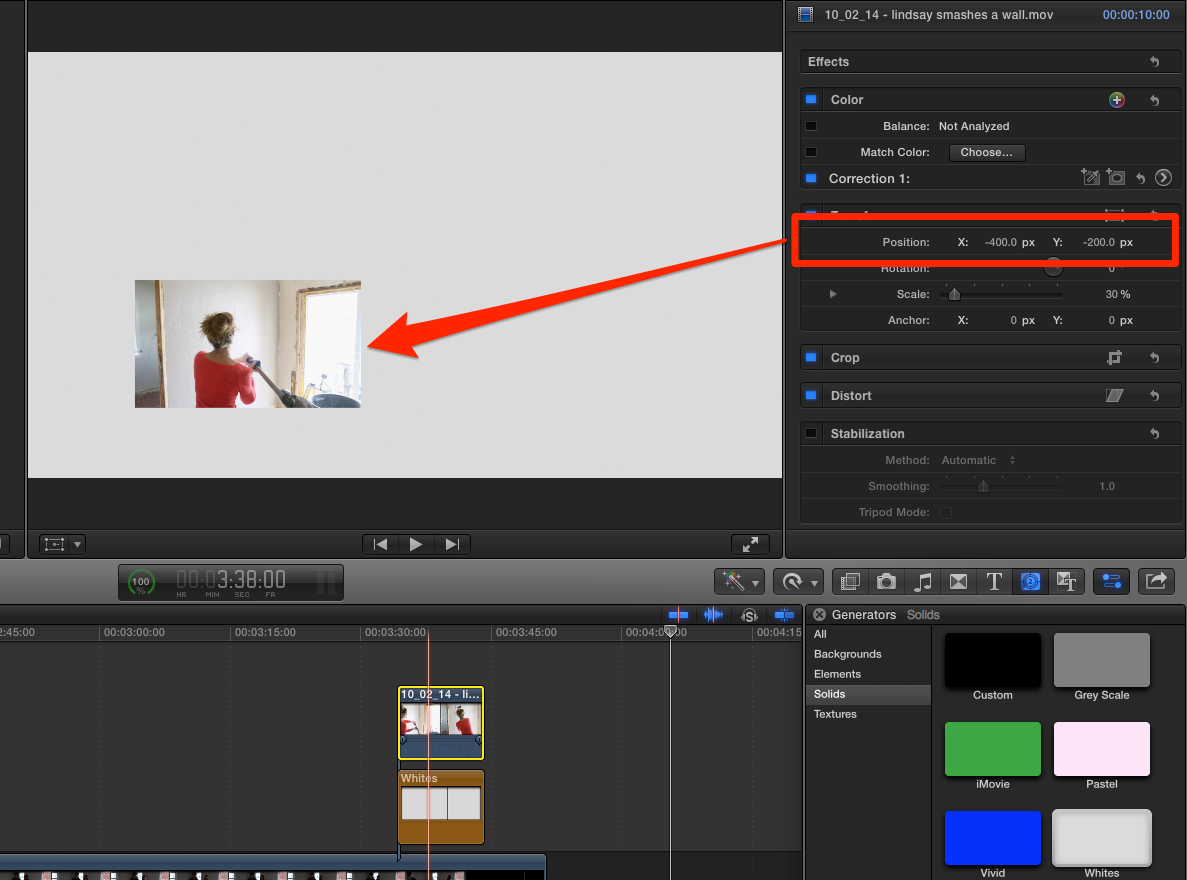
4. Adjust the video’s Scale.

4. Adjust the video’s Position.
5. After uploading to YouTube you can place an annotation note on top of this video preview.
What about you?
Have you used FCPX before? What are some tips or tricks you have for editing YouTube videos? I’d love to hear what you have to say!
Final Cut 10 is the worst! I have Final Cut Pro 7 and won’t upgrade, ha ha!
Really? I love it! Granted, I never really got to know FCP7, so it might be that I don’t know what I’m missing.
Maybe I just didn’t catch it…but what are you using for audio if not your DLSR?
Oops…found it. iPhone. Working on some video recipes…stay tuned 🙂
If you upload a separate audio file (from you Iphone) how does FCP know how to perfetly sync it with the video file. Like magic?
Basically. 🙂 See step #2. It’s a feature built into FCPX that reads the audio from the video and the separate audio file and then syncs them up. It’s so slick!